become a contributor


MAKE IT CUTE
Room
Spruce up your space with these seven tips for a glam gallery wall
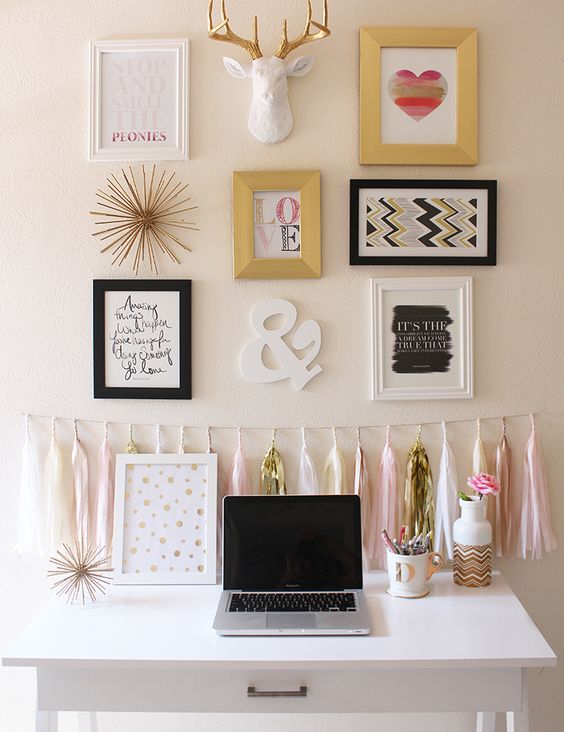
Spring is the perfect time to overhaul your room. That way come summer, your room is fresh and ready for anything you throw at it: reading, girl talk and (let's be real here) piles of dirty laundry. Consider this gallery wall DIY the first step on the road to an exquisite new space. We know this project might seem a bit daunting, but with a little planning, consideration and effort (and likely some help from mom and dad) you can brighten up your room with a *superbly* glam gallery wall.
Step 1: X Marks the Spot
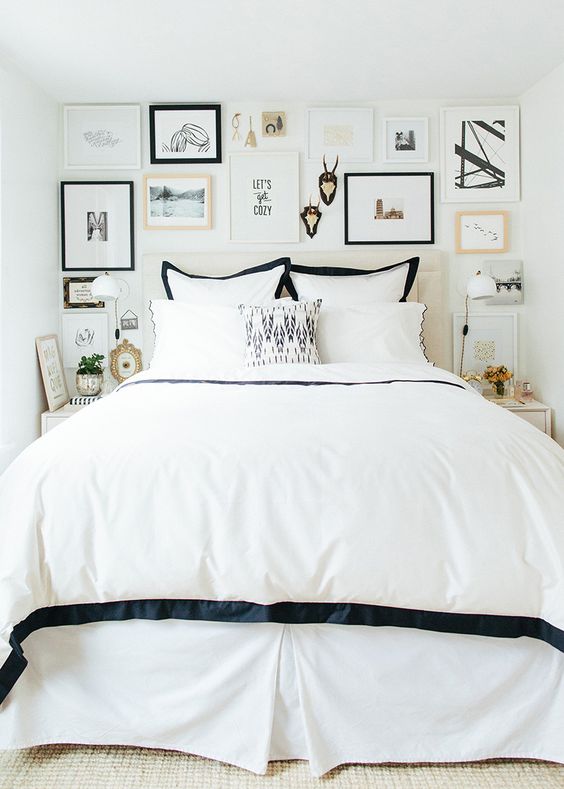
First thing's first, you need to find the perfect spot for your gallery wall. Pick an area where there’s enough space to hang multiple things and where it will blend well with the rest of your room. Some of the best spots include: over head boards, above the sides of beds, over couches or over top of dressers.
Step 2: Get Some Inspo
Check out Pinterest or Tumblr to feed your inspiration and to get a feel for what style gallery wall you're into. Just type in “gallery wall” and see what pops up! You can even narrow your search by the vibe you're going for using key words like "gold," "simple" or "artsy." Start a board called "Gallery Wall" and save some of your favorite finds to it.
Step 3: Get In, We're Going Shopping
Once you know what style gallery wall you want to create, it’s time to start acquiring pieces. There are a few ways to do this. First, you can spend a day picking out pieces and purchase them all at once. Second, you can use pieces you already have. Or, third, you can do a mixture of both. What you want to do before that, though, is choose a centerpiece/focal point for your wall. It's a lot easier to build off one piece than to acquire a bunch of random things in hopes that they will all look good together. Be sure to reference your board while you're shopping so you know what kinds of pieces you're looking for.
Here are a few centerpiece ideas to get you started:
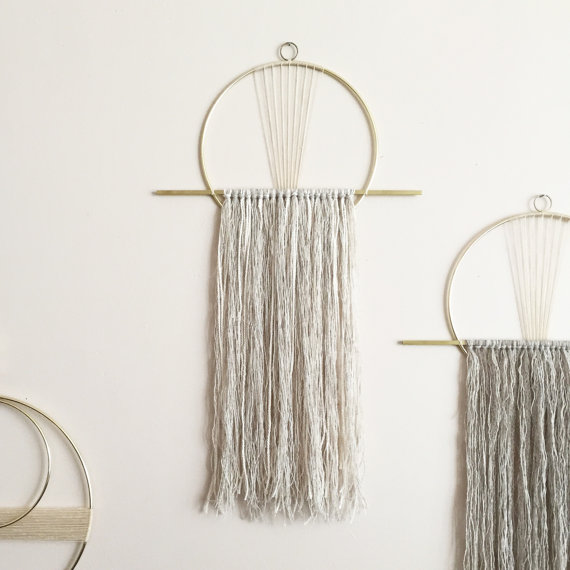
For the boho goddess: Check out this simple fringe wall hanging from Etsy as your centerpiece. What’s great about this decor is that it includes silver and gold, so you can use both those colors as you move on to the rest of the wall.
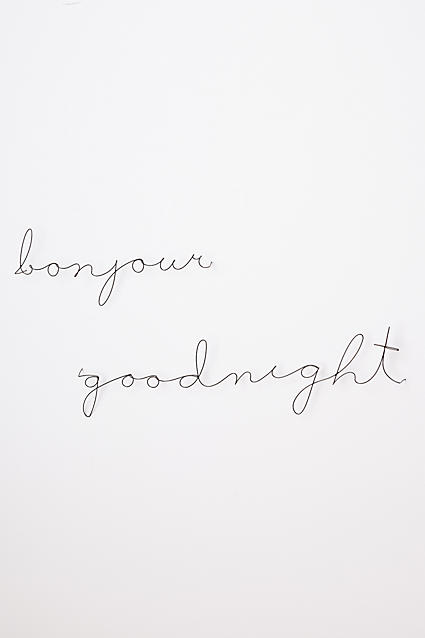
For the minimalist: Snag this wire script sculpture from Anthropologie to go in the middle of your gallery wall. It’s simple, yet adorable, so that you can keep the rest of your wall clean and perfect like you prefer.
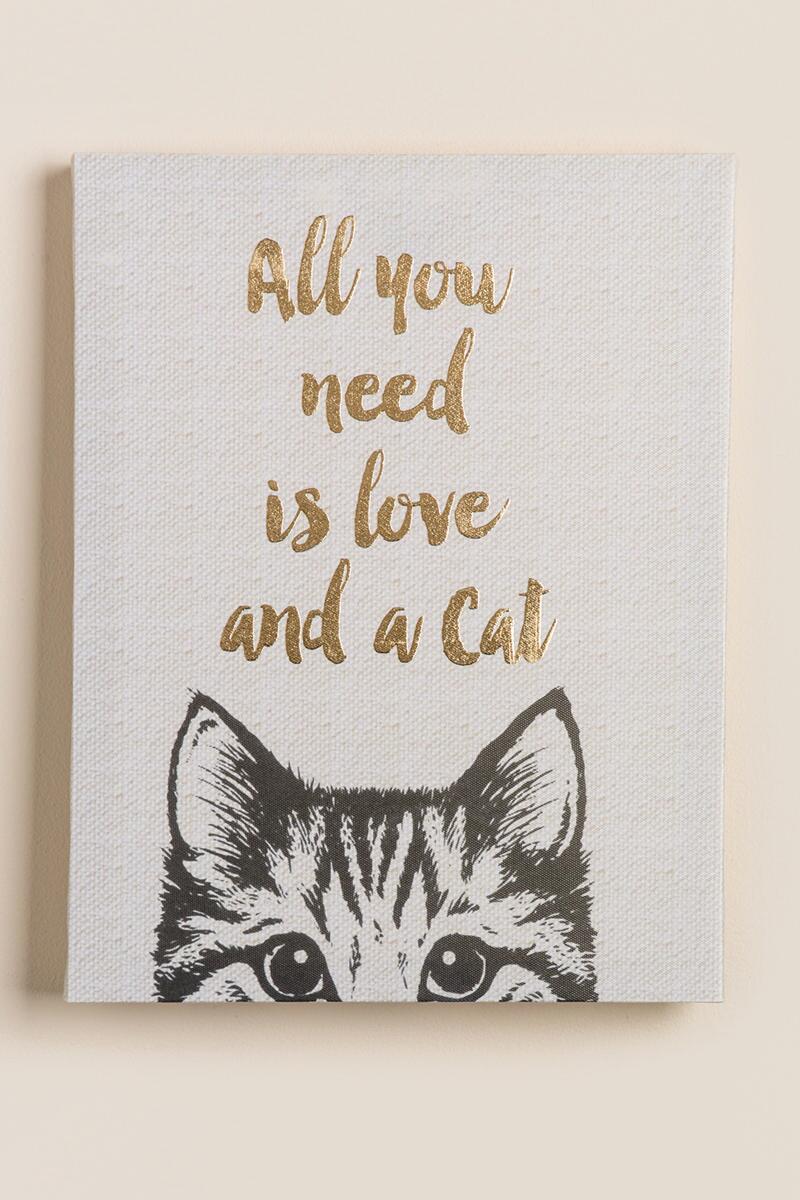
For the canvas lover: Make the focal point of your wall a canvas that makes a statement about you. Choose one with an inspirational quote, a photo of your favorite retro star or anything else your heart desires. We love this cat canvas from Francesca's.
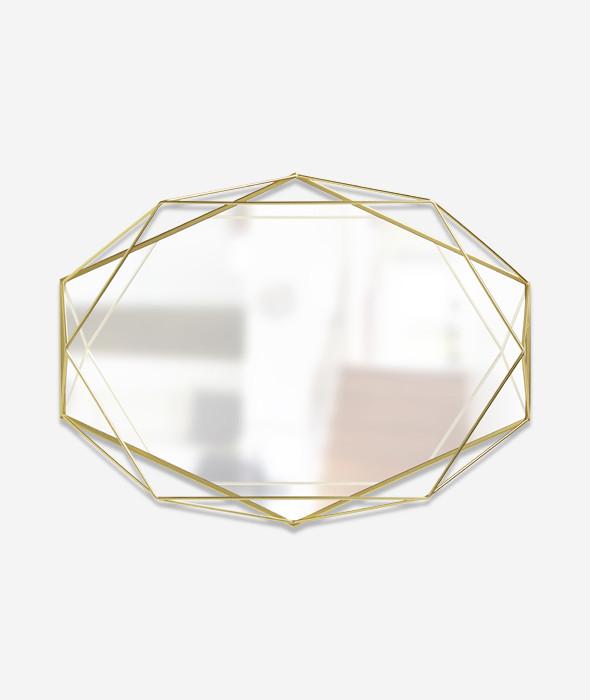
For the girl who's into geo: You love anything gold and shiny, so hang this stunning prisma mirror from Beam in the midst of your gallery wall. Mirrors not only help the room seem bigger, but this one makes a big statement about your impeccable taste.
Step 4: Plan. Plan. Plan.
The best way to ruin a gallery wall is to just throw all your items up without planning it out ahead of time. To combat this, hold each piece up to the wall to see what looks best where. An easy way to do this is to start with our tip from above: begin with your centerpiece. It's much easier to envision where everything should go once you have a place to start. (Tip: your centerpiece doesn't actually have to hang in the center of your gallery wall!)
Step 5: Start Hanging.
Hanging things up can be the trickiest part of a gallery wall, but if you take your time it could be your best DIY yet. There are two ways you can hang your pieces: command strips or nails (but make sure you ask your parents before putting holes in the walls). Use nails for larger items, such as framed art or mirrors. Command strips work best for lighter pieces. Once you have your materials ready, ask someone with a decorating sense you trust to stand behind you as you hang to make sure everything is even and straight.
Step 6: Picture Time.
Snap a quick pic of your gallery wall and post it for all your friends and fam to see! If you think you've got a real winner on your hands post the picture to Pinterest, adding the links to where you purchased the items for others to see. Who knows, maybe *your* gallery wall will serve as inspo for someone else's!
Step 7: It's Alive!
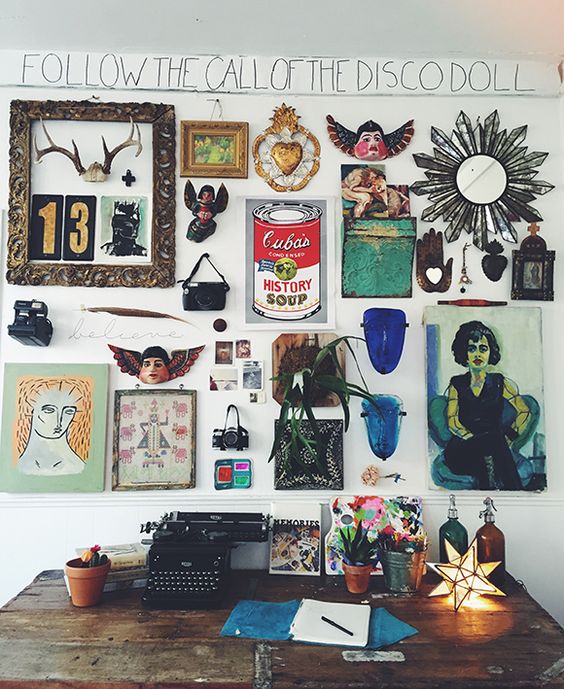
Just because you've hung all your pieces doesn't mean the DIY fun has to end. If you're out and about and find something that would go well with your wall, snatch it up and add it on. There's no such thing as a gallery wall that's too big. Yours and it can be a representation of all of your likes and your own personal style–so go crazy!
Do you have a gallery wall? What's your favorite part of yours?
Photo credit: Havenly, The Southern Thing, Free People
POSTED IN crafts, diy, room decor, lifestyle, room redo, MAKE IT CUTE, DIYs, Room


POLL
Pick a spot for your BFF date:

LOVE THIS
*This* is the perfect Galentine's Day gift for every gal in your squad 💞

Step aside, Cupid. This year, GL’s got everything you need to shower your squad with *all* the love. Check out (plus enter to win) our swoon-worthy surprises HERE!
FREE STUFF
Win! The Swifts: A Dictionary of Scoundrels

All little sis Shenanigan Swift wants is to prove to her family that she’s more than just a troublemaker. So when she finds herself at the center of a twisty mystery, she’s determined to solve the case (with a little wordplay and a whole lot of mischief). Enter to win here!