MAKE IT CUTE
DIYs
Tin Can Luminaries

What You’ll Need:
A tin can of any size
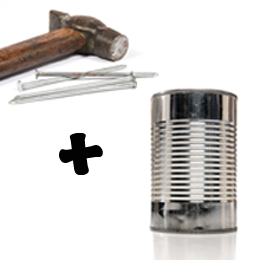
A hammer
A nail (or a variety if you’d like your holes to be different shapes and sizes)
Access to a sink and a freezer
A towel
Votive candles
What You’ll Do:
In advance: Grab a handy tin can. If you’re dealing with a stubborn label, soak it in hot water for 10 minutes and then rub off the offending sticker. Ready to go? Great! Head to the sink and fill ‘er up with water, then put your can in the freezer until the water is completely frozen—think a full day or two, depending on the size of the can.
In the meantime: Choose a pattern. Freehand is fine, but if you have something in particular in mind, map it out in advance on a sheet of paper. You can tape your pattern onto your tin can when you’re ready to complete the craft. Concentrate your design on the middle of the can to take advantage of the twinkling candlelight. Keep it seasonal with fall leaves, acorns, pinecones and spooky Halloween faces.
Get down to work: Once the water is frozen, take out your can and hunker down outside. Cradle the can in a bath or beach towel to prevent it from slipping. Be careful: Your can might still have some sharp edges. You can line the top with tape as a precaution, if you like.
If you made a pattern, tape it onto the can. You can also use sharpies to draw a pattern directly onto the tin. Now comes the fun part. Grab a hammer and a nail, and poke holes through the tin. You can use a variety of nails and other sharp instruments to make different-sized and -shaped holes in your can.
When you’re finished, remove the pattern, rinse out the remaining ice and admire your handiwork. The can needs to be completely dry before you drop in a votive candle or two and light ‘em. If you’re drying by hand, be careful. The holes you poked will leave sharp edges on the inside of the can.
POSTED IN diy

 become a contributor


