BOOKS
Rad Reads
This DIY clutch is perfect for book worms!

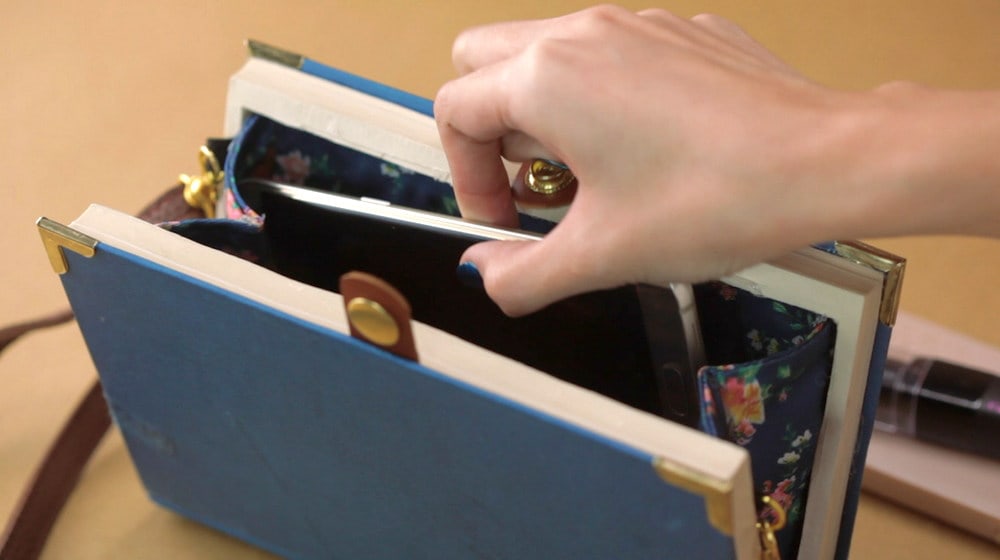
If you're a Rory Gilmore type of book worm who just *has* to take a book with you everywhere because, well, #booksarelife, now you can with this DIY book clutch!
What you'll need:
–Old book
–Mod Podge and a brush to apply it
–Wax paper
–Glue gun and glue sticks
–Cutter
–Bag strap
–Leather bag clasp
–Cloth—any print you like!
Directions:
1. Grab an old book. Don't pluck your favorite book off the shelf. Make use of an old book you don’t want anymore. If you don't have any books at home to use, search a thrift store for one that looks suitable.
2. Wrap your book in wax paper. Stick a sheet of wax paper in the inside front and back covers and in the middle of the book. Make sure you cover the front, top and bottom of the book.
3. Paint the pages with Mod Podge. Using a paint brush, paint the edges of the book with Mod Podge so they stick together. Do this for both sides of the book and give it a few hours to dry. (Pro tip: Try not to use too much Mod Podge so that your pages don't get wrinkled.)
4. Draw a rectangle. Remove the wax paper, then trace a rectangle on the first end page. Use a ruler to make sure each page has at least 3/4” border on all sides. Cut the rectangle tracing using an X-acto knife or a cutter (ask a parent for help with this, and make sure to use a sharp blade as dull blades are unsafe). Then remove the pages you cut out.
5. Secure the borders. You should now have two frames/hollow rectangles. Paint the inner borders of each frame with Mod Podge. Place a piece of wax paper between the frames and wait two hours or until it’s dry.
6. Glue the bag clasp to the book. Glue a leather bag clasp to the inside of the book, making sure the leather strip has two separate pieces—one for the socket and one for the stud. Glue the end piece of each strip on the inside of both book covers. Make sure the sides of the clasp are aligned equally so your clutch closes securely.
7. Glue the edges to the book cover. Using a hot glue gun, glue the two frames to each book cover. Do *not* glue the frames together.
8. Cut and fold the cloth. In the next few steps, you'll make the lining for the inside of your purse. Cut two pieces of cloth into triangles. Glue according to these guidelines. Fold the fabric in half, and then unfold it. Using a hot glue gun apply glue along the crease created by the fold, and fold it again while the glue is hot.
9. Cut rectangles. With a new piece of fabric, cut rectangles using the same guidelines. Hot glue the edges of the rectangle and fold them. Then, using a new piece of fabric, cut a long rectangular shape.
11. Make a bag strap. Insert a felt strip inside the "d-ring" Apply hot glue on the inside of the felt strip and press the two ends together, then glue it to the corners the book.
12. Glue the lining inside book. Glue the strips of fabric in the openings, on the inside spine and on the frames.
13. Strap it. To actually make this a purse, add a bag strap of your choice—and you're all done!
More of visual learner? Watch the awesome vid below.
What's your favorite current read? Let us know in the comments below!
Photo/Tutorial credit: DIYProjects.

 become a contributor


.png?w=135&h=153&mode=crop)


