become a contributor


STYLE
Beauty
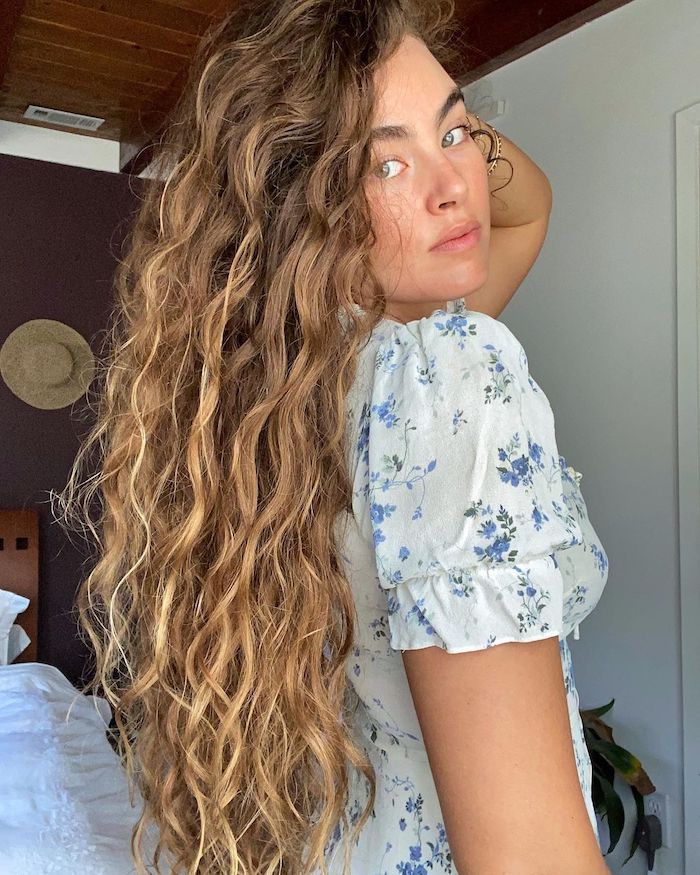
A step-by-step tutorial for styling wavy hair
![]()
Is the top layer of your hair frizzy and untameable, hiding the perf waves underneath? You are not alone. This is a common sign that your locks are camouflaging their hidden talent: curls! If that mousse your mom got you is just not doing the job, have no fear. We've compiled a wave care routine that will take your hair from nay to yay in only a few steps.
Step one: Curl cream
The purpose of cream is to define your locks and enhance your natural curl pattern. There are so many options for curl creams, so just choose the one that best fits your needs. Whether you're seeking volume, frizz control or definition, there's def something out there for you. Either rake your product through wet hair with your fingers, comb it through or smooth it on, and you'll be primed and ready for the next step.
Step two: Mousse or gel

These products sometimes get bad reps in the wavy hair community for their tendency to make curls crunchy. However, that stiffness is *exactly* the goal of gel!
Let us explain. When you apply gel, your hair must be soaking wet (you may even need to spritz it with some extra H2O to keep those strands drenched!) The water mixes with the product, which results in what curly-hair experts like to call a "gel cast." Crystallization forms around each ringlet, creating that crunchiness that has caused many gals to ditch their gel. However, if you choose to diffuse (see Step Four), the heat from the diffuser will remove that crystallized layer, leaving behind perfectly defined curls. If you opt to skip diffusing, though, scrunching in a mousse will also achieve top-notch locks.
Step three: Plop

The plop is an essential part of the curl care process. It squeezes out some of the moisture post-shower and preps your strands for diffusing. Hair that is too wet will take *forevs* to dry—and that is just not our vibe! Simply grab an old t-shirt or a microfiber towel and flip your head over (Willow Smith-style). Place the towel at the base of your neck and twist. Create a towel turban and secure it with either a claw clip or a hair tie. Keep it on for about 15 minutes to allow your hair to set.
Step four: Diffuse

The diffuser can be a useful tool for your wavy-to-curly transformation. But if you don't have one, no worries! This step is completely optional, but some everyday hairdryers have attachments that are used for diffusing (like this $18 one from Amazon!). Start by removing your plop and scrunching out excess water droplets. Next, grab that claw clip again and secure your roots, especially if you're craving a bit more volume. Now, it's finally time to pick up the diffuser and dry. Settings (a.k.a heat and power) will depend on the size and shape of your curls, so it takes some trial and error to figure out what suits you best!
Step five: Oil
This is the final step in your wavy hair evolution. A curl oil can lock in all the products you just applied, tame down that pesky layer of frizz, provide moisture and strengthen your strands. Apply from the mid-section to the ends to polish off your new 'do. Always remember to embrace those waves!
Trying out our hair care tips? We want to see the results! Tag us in pics @girlslifemag on Insta!
Looking for more hair inspo? We got you covered:
❤️ Our favorite hair masks for smooth and shiny strands
❤️ 5 easy ways to rock the bubble braid hair trend
❤️ The beginner's guide to cutting your own bangs at home
Top image: @thegirlhabit
Slider image: @thegirlhabit


LOVE THIS
Do *you* have what it takes
to be a model?
.png)
Take our quiz to see if you're ready to strut your stuff. Then, enter our contest with Barbizon Model to make those dreams come true!
FREE STUFF
WIN! Me and the Missouri Moon

Scarlet’s father hit a bicyclist with his car—and drove away like nothing happened. Now, she faces an impossible choice: Stay silent or risk losing her fam, her friends and the life she’s always known. Enter to win here!