MAKE IT CUTE
DIYs
Everything you need to make a memory box
Whether you're a senior in high school or still have a few semesters to go, there's nothing better than having a place to store photos or little mementos from throughout your year. Whether you want to include plane tickets from that ah-mazing trip you went on, pictures from that disposable camera you take everywhere or even little notes to yourself, a memory box is a perfect idea. We recommend getting together your besties and making them together. But, before you get to crafting, you'll need to decide how you want to decorate it. We're here to help, so read on to find out all the deets on what to get!
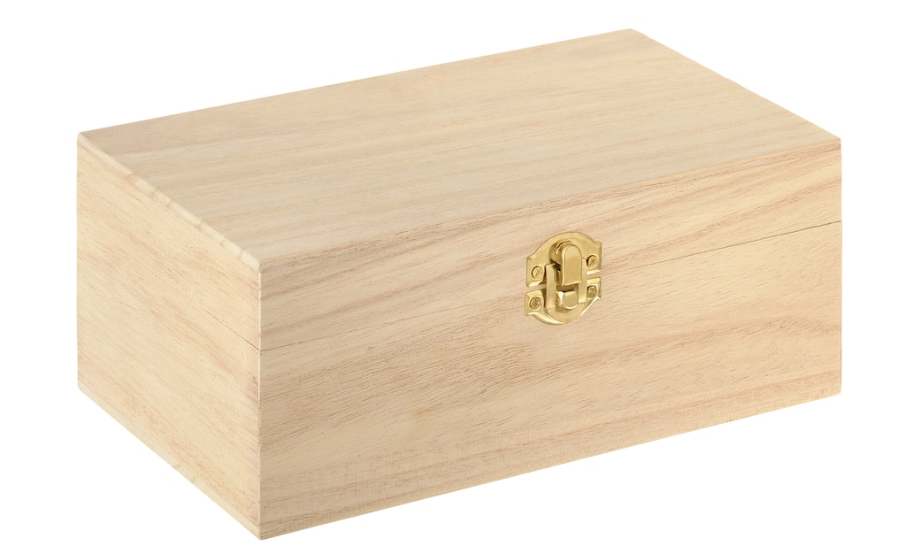
1. A cute box to put everything in
Any shape box works. Just make sure that it's big enough to hold the things you want to put inside.
2. Your choice of paint colors
We recommend getting two or three colors to paint the box. Maybe even try out some fun designs by using stencils!

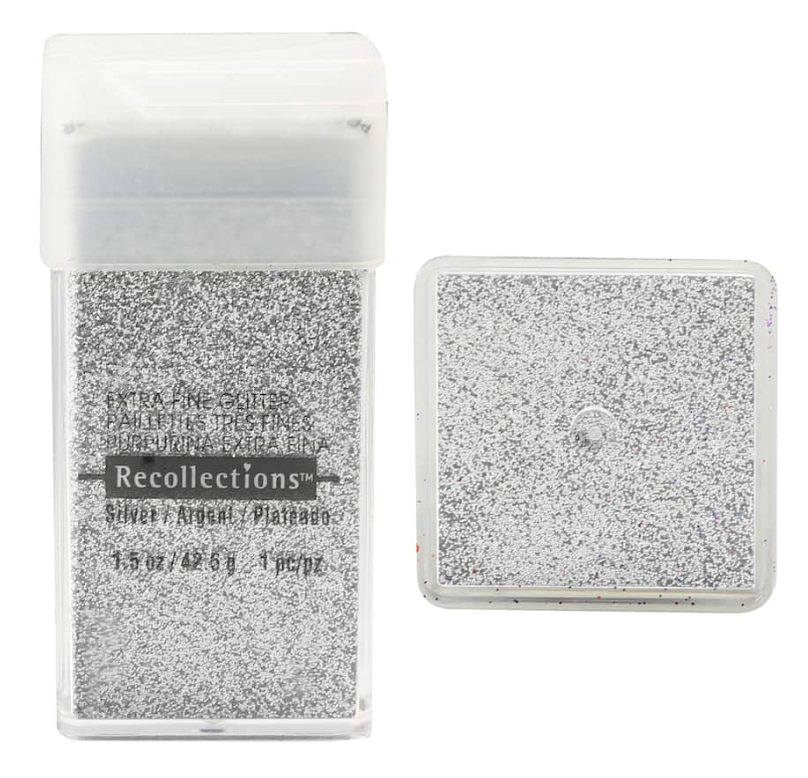
3. Glitter to bling up your box
Glitter can be so much fun, but it can get pretty messy. Be sure to put down an old tablecloth or tray to keep clean-up from being too hard.
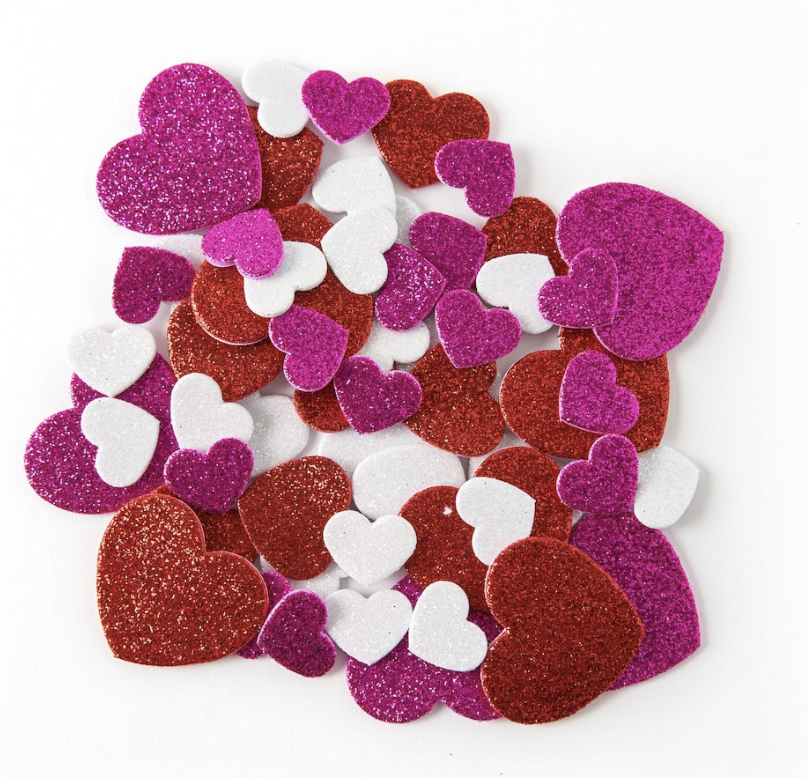
4. Cute stickers of your fave things
You can find stickers for basically every occasion (your go-to fave food, somewhere you want to travel, animals you heart, etc.) at most craft stores. The possibilities are endless.
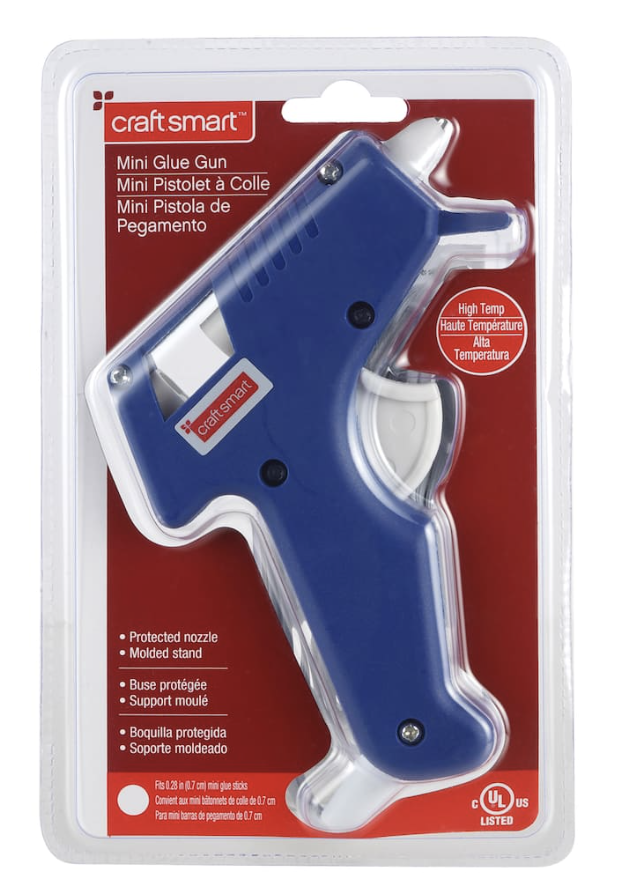
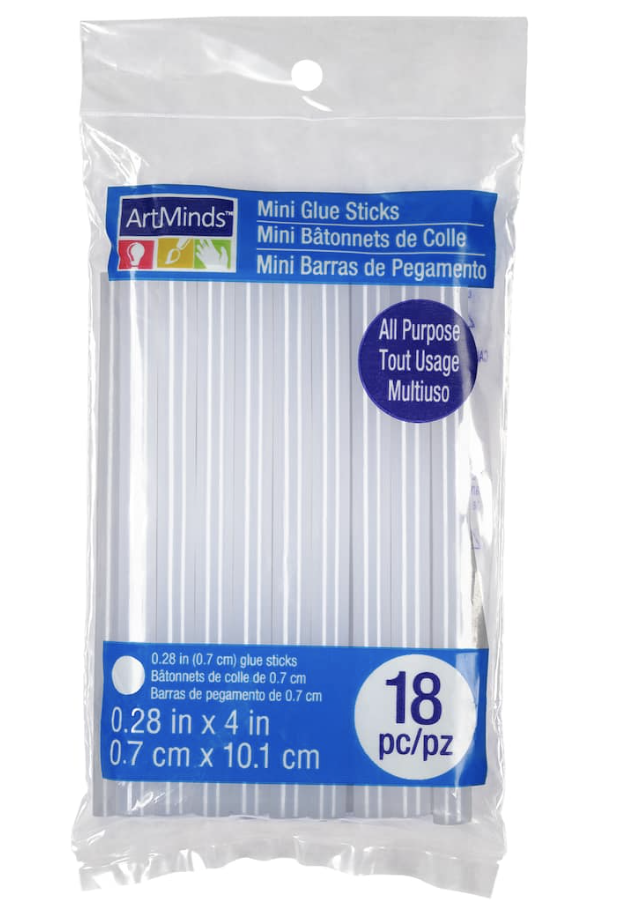
5. Hot glue
We highly recommend hot gluing things like larger stickers, letters and plants onto your box so they don't fall off. Super glue can also work just as well.
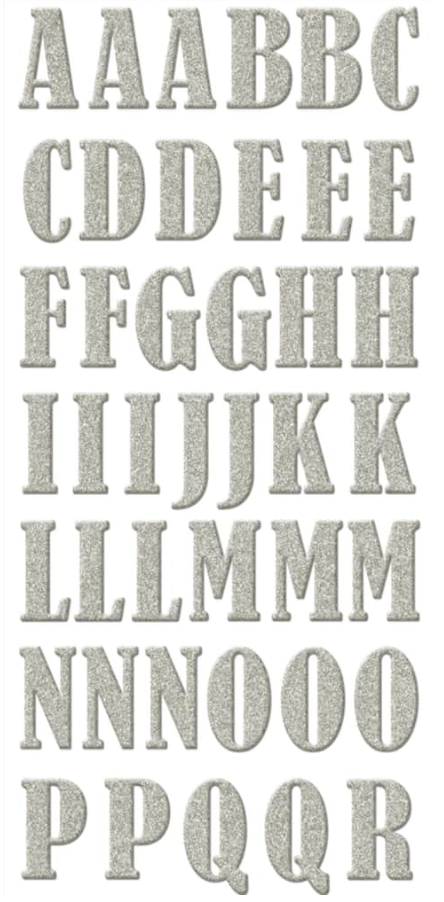
6. Letters
You could spell out your name, the year or maybe a phrase from your fave song or movie of the moment. Letters are a super fun way to personalize your memory box.
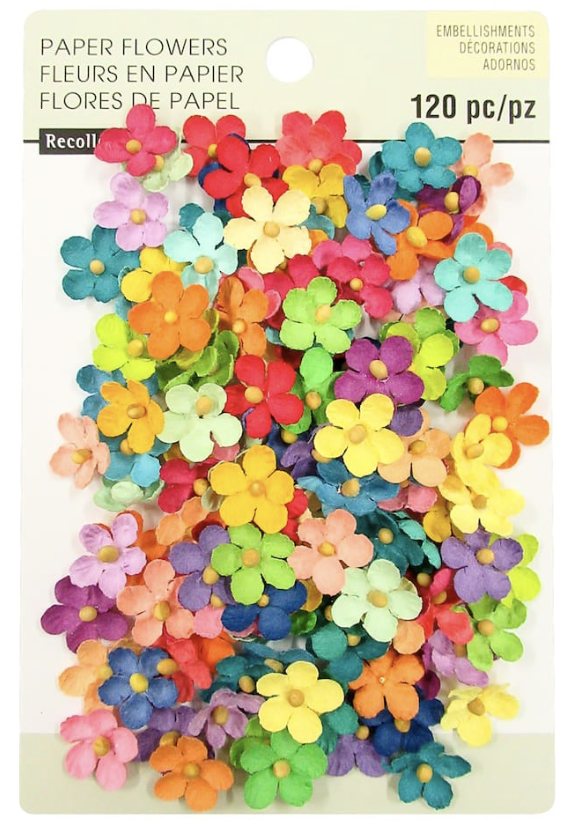
7. Fake flowers or plants
Another easy way to spice up your memory box is with small fake flowers and plants. There are so many choices, and it's a creative way to add some more color to your box.
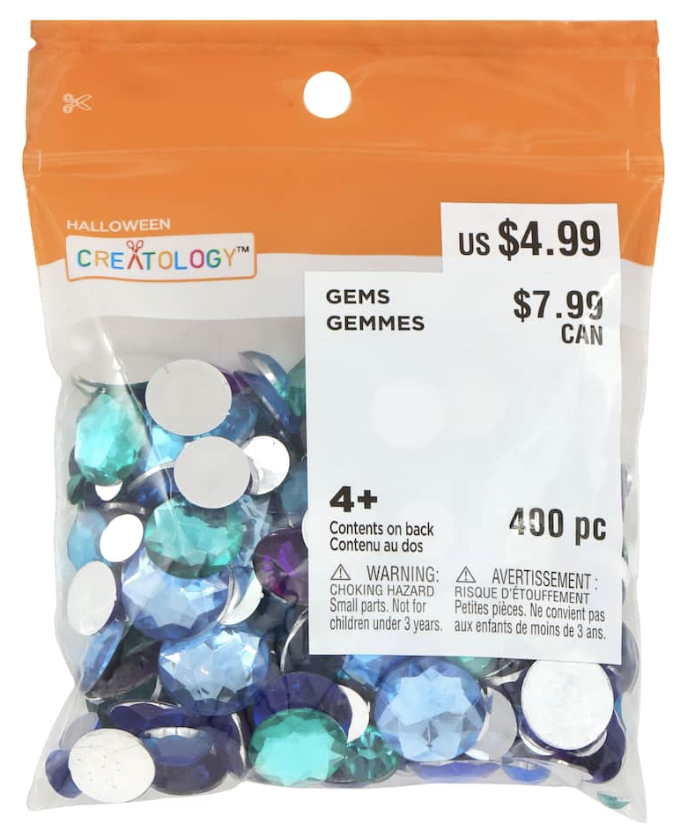
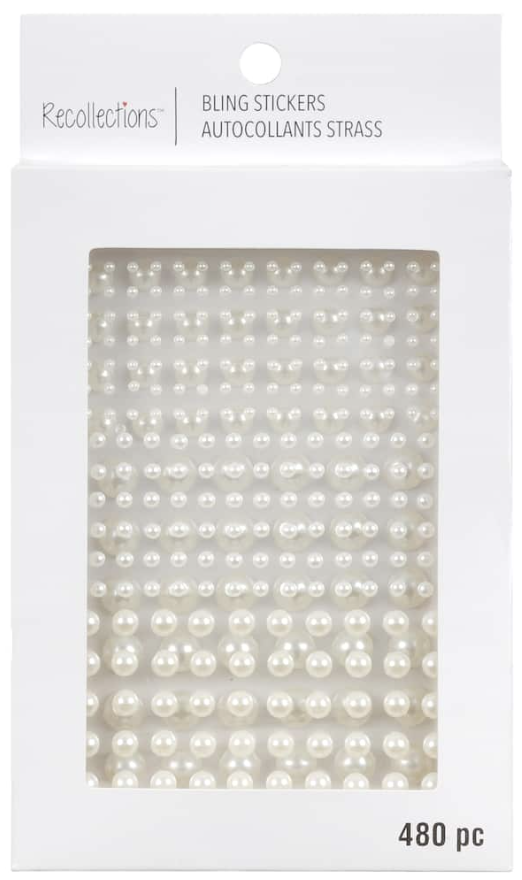
8. Plastic gems or pearls
If you already have glitter but feel like there just isn't enough sparkle, gems and pearls are a *must.* Besides, if you love glitter, can you ever have too much? (We say no.)
Once you have everything you want to put on your memory box, you can get to decorating! Let the paint dry before you add stickers, flowers and other adhesives. Then, once your box is fully dry, start adding your memories! The best part about a memory box is that you can keep it forever and look back on all the great memories you've made.
We want to see your memory boxes!
Tag us on Instagram @girlslifemag to show us your finished creation.
Slider via @mintcamera
POSTED IN MAKE IT CUTE, DIYs

 become a contributor




.png)


