MAKE IT CUTE
DIYs
Create your own starry night masterpiece with this VSCO background editing trick
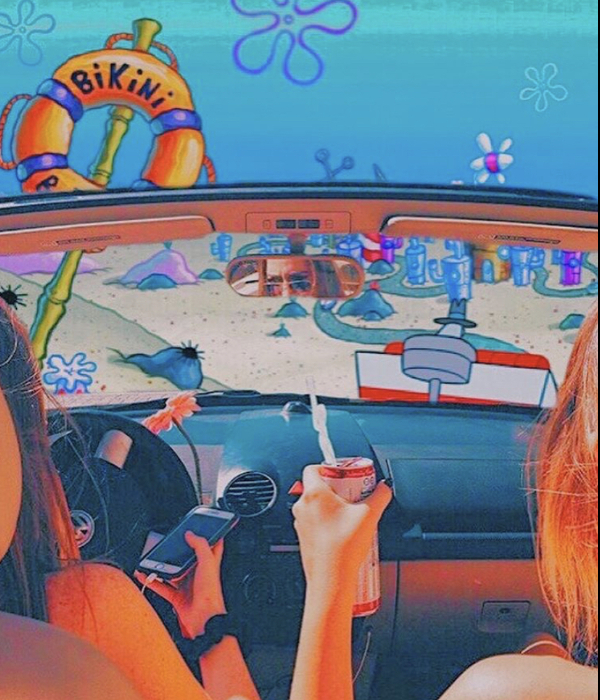
Want to continue to spice up that throwback summer photoshoot series on your Insta? From shining stars in the sky all the way down to Bikini Bottom, the possibilities are endless with these killer VSCO editing tricks for your photo backgrounds. Here's how to make those sandy beaches and nostalgic lake houses even more aesthetically pleasing.

Starry Night
Step 1: Download the PicsArt photo studio app
Start by finding the right editing app for you. We suggest PicsArt, a free photo studio app that lets you do all the creative edits you could ever want for your VSCO feed.
Step 2: Find the perfect background sticker
Once you have the app, you’ll see a toolbar with everything you need. Look for the icon that reads “stickers”, and use the search bar to find the sparkliest starry background. You may need to duplicate the sticker so it spans over your whole image without having the stars super far apart. You want to be sure to keep everything looking proportional.
Step 3: Erase unwanted stars
Lastly, you'll want to use the eraser tool to get rid of stars that overlap over objects or people in your photo. See, easy peasy.

image: instagram.com/thegirls.inspo
Chillin' in Bikini Bottom
Step 1: Find your Bikini Bottom sticker and resize
You can edit in the iconic sky flowers or make it look like you're actually hanging out in Bikini Bottom with surrounding buildings and roads. Resize your sticker over the areas you want to cover.
Step 2: Decrease the opacity of the sticker
Decreasing the opacity makes the sticker transparent so you know where to erase in order to see the front and center subjects of your photo.
Step 3: Draw and erase
Be patient with this one. Getting around the little details can be tricky. You can make the circumference of your “pen” or "eraser" point bigger or smaller to help maneuver around tight corners or quickly erase large sections. If you accidentally erase part of the sticker you wanted to keep, you can easily use the drawing icons to make it reappear.
Step 4: Increase the opacity of the sticker
Once you’re confident your background is perfectly in place, you can increase to the opacity of your sticker and admire a job well done!

POSTED IN LIFE, Get Inspired

 become a contributor


