MAKE IT CUTE
DIYs
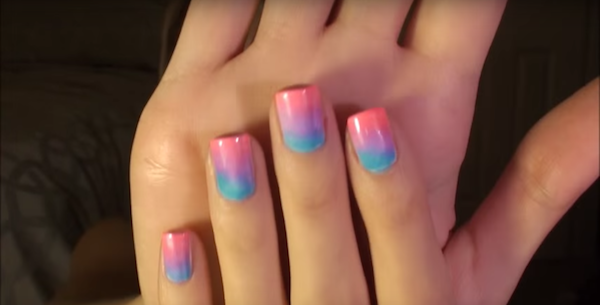
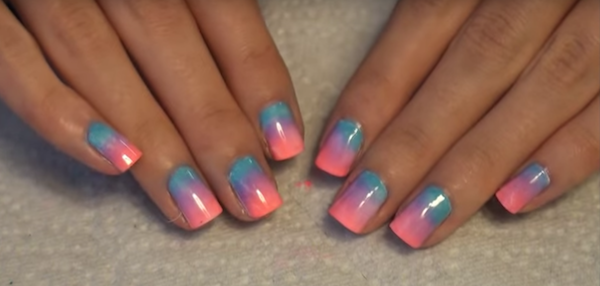
Own the nail art game with these ombre tips

Step up your nail art game this summer with vibrant ombré nails. Don’t be fooled, this nail look is super easy to do at home.
With a few quick steps, your nails will glisten with the bright hues of summer. Choose the colors you love most to make the style all your own. Now on with the ombré!
What you’ll need: makeup sponges • scissors • white nail polish • 3 nail polish colors for your ombré design • top coat
Directions:
1. Cut one makeup sponge to the size of your nails. Trim the sides as necessary to fit the shape your nails.
2. Apply two coats of white nail polish on all of your nails, then wait for them to dry.
3. Paint one streak of each of your ombre colors on a square side of the makeup sponge. Your colors should be in a line of three. Apply multiple layers over each color to keep the paint wet.
4. Line up your painted sponge against your white polished nail and dab the sponge against your nail. Press the sponge down until the entire surface is covered with the ombré color.
5. Repeat steps 3 and 4 on each finger.
6. Clean any excess polish from your skin by wiping the sides with a Q-Tip dipped in nail polish remover.
7. Apply a top coat, then wait for your nails to dry.

Do you love this ombré nail art look? Would you try it?
Photo and tutorial credit: Jenny Claire Fox
POSTED IN diy, MAKE IT CUTE, DIYs, STYLE, Beauty, nails, diy mani

 become a contributor


