MAKE IT CUTE
DIYs
Make this adorable customized hoodie in 3 easy steps
Even though we're moving out of the cozy days of winter and into the fresh vibes of spring, a good hoodie is always a staple in your wardrobe. This season, throw out your old grey sweatshirt for a new, fabulous one customized 100% by y-o-u.
100% recommend😍 everything’s from hobby lobby ##fyp ##fashiontiktok ##outfitinspo ##customizedhoodie ##tiedyehoodie
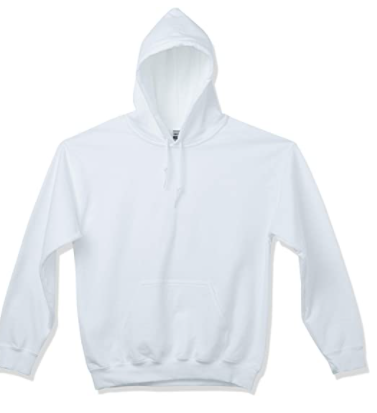
Step 1: Purchase a plain hoodie
Go to your local crafts store or Amazon and pick out a hoodie in a basic white color. If you're going for the oversized look, buy one that's a couple of sizes bigger than your usual size.

Step 2: Tie dye
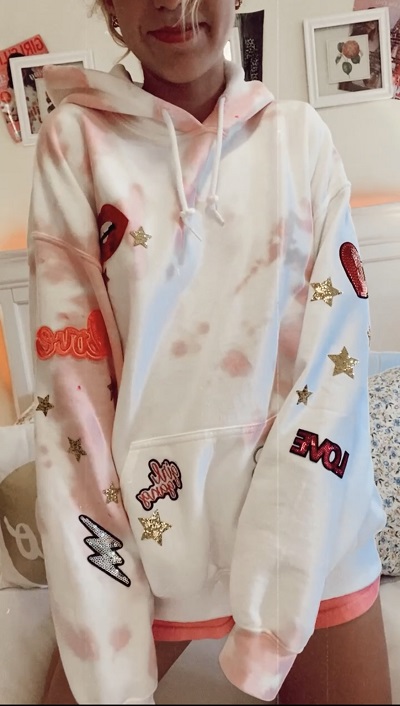
Next, tie dying your hoodie is completely optional. Feel free to choose whichever pattern and color combination you'd like that will compliment your iron-on patches.
Step 3: Add your patches
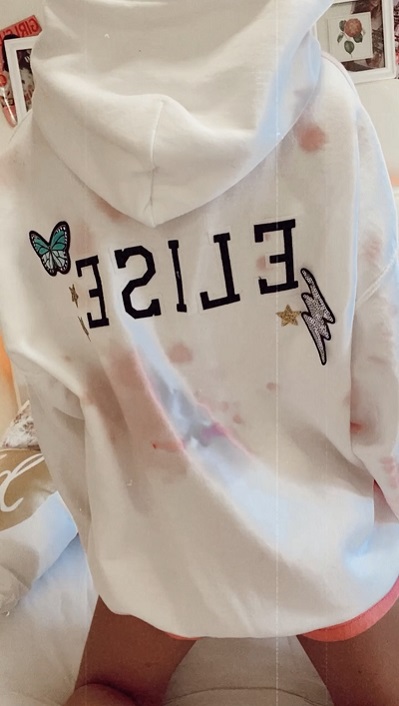
Now, for the best part: add your patches to your hoodie! Pick out a range of iron-on patches (Hobby Lobby and Target have really cute options) that totally represent your personality. Butterflies, lipstick, paw prints – you do you! You can even add your name somewhere along the hoodie for an uber-personalized effect. Follow the directions and iron each patch one at a time. And viola, you're done! We bet no one will have anything like it (wink).


Send us a pic of your customized hoodie on Insta @girlslifemag!
POSTED IN MAKE IT CUTE, DIYs, STYLE, Fashion

 become a contributor


