become a contributor


How to dye the perfect Easter egg--no kit required!

What you’ll need:
4 (or more) hard-boiled eggs (ask Mom for help)
4 hard plastic cups or dark mugs (that won’t get stained)
1 pack of food coloring
Large spoon
2 cups boiling water
4 tsp distilled white vinegar
Newspaper or wax paper
What you’ll do:
- Set out your four cups or mugs on top of newspaper or wax paper.
- Fill each cup with 1 tsp vinegar and 10-20 drops of food coloring (depending on how strong you want the color: refer to chart for ratios).
- Carefully fill each cup with ½ cup of boiling water.
- Using the large spoon, gently drop an egg into each cup, one at a time. Let sit for 5-10 minutes, rotating ever so often to make sure the dye is even.
- Using spoon, remove eggs from cups and let dry on wire rack or egg crate. Refrigerate when dry.
Color chart:
Use these ratios below to create your perfect color
Orange: 2 drops Red, 3 drops Yellow
Coral: 3 drops Red, 2 drops Yellow
Pink: 4 drops Red, 1 drop Blue
Turquoise blue: 4 drops Blue, 1 drop Green
Seafoam green: 3 drops Green, 1 drop Blue
Lime green: 3 drops Yellow, 1 drop Green
POSTED IN holiday, easter, crafts, holiday, In the mag, April/May 2013


POLL
College decision szn is upon us! In your dreams, you'd love to attend a school...

LOVE THIS
Do *you* have what it takes
to be a model?
.png)
Take our quiz to see if you're ready to strut your stuff. Then, enter our contest with Barbizon Model to make those dreams come true!
FREE STUFF
WIN! Fun In by Sun In 🎨
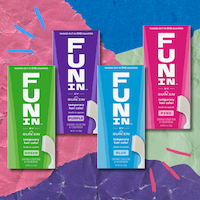
Give your tresses a (temporary) rainbow-rific refresh with Fun In by Sun In. Enter here to win!