become a contributor


MAKE IT CUTE
DIYs
This chic DIY keychain is off the hook
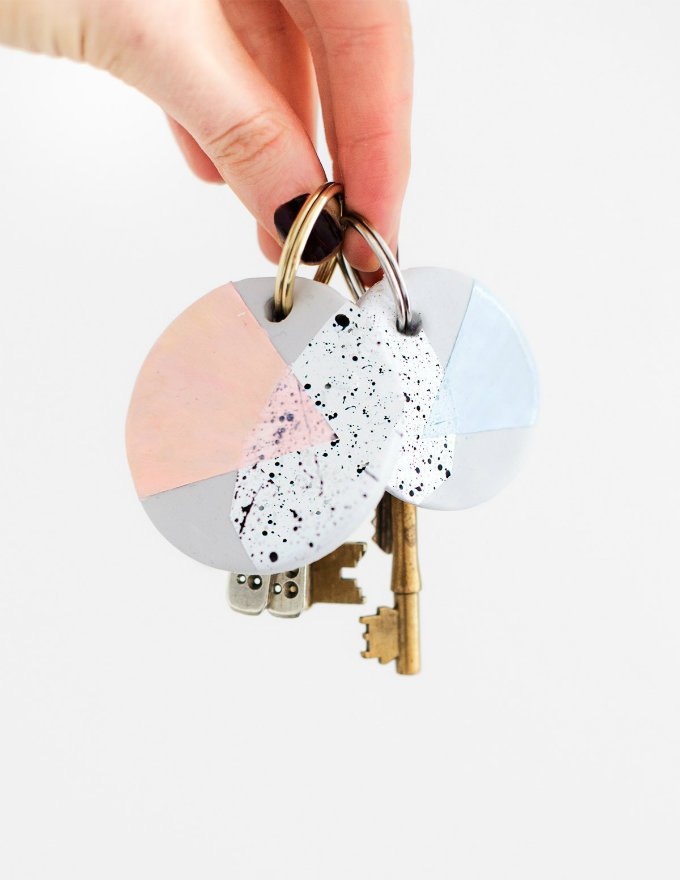
Keychains are one of the *best* ways to personalize your keys, lanyard or backpack. Nothing beats accessorizing your accessories, right? Not to mention, these adorable little pendants make great gifts for friends or family members. Follow this awesome step-by-step guide to creating the cutest keychains ever.
You'll need:
Polymer clay
Rolling pin
Greaseproof paper
Round cutter
Masking tape
White spray paint (optional)
Colored acrylic paint
Paint brush
Black ink
Pencil
Key chain
Clear clay glaze (optional)
Directions:
1. Preheat the oven according to the clay's instructions. Form some of the clay into the ball and place it on the greaseproof paper. Use the rolling pin to flatten the clay.

2. Using the round cutter, cut out a piece of the clay and gently remove the excess. Create a hole on one edge with the pencil (this is where the key chain will go).

3. Place the greaseproof papaer onto a baking tray (don't remove the clay from the paper)! Bake according to instructions.
4. Let clay cool completely. Using the tape, cover parts of the clay you don't want painted.

5. Apply the white spray paint and let dry completely. Use the paintbrush and ink to splatter designs on the clay.

6. Remove the tape and look at your design. You can place tape on it again and use the colored acrylic paints to create more designs!

7. Cover the clay in the glaze and attach the keychain.
Have you ever worked with polymer clay? Are you going to try this DIY? Let us know what you think in the comments!
Tutorial credit: Sugar and Cloth.
POSTED IN diy, MAKE IT CUTE, DIYs


POLL
The best Saturdays start with a trip to the bakery. The superior pastry & drink combo is:

LOVE THIS
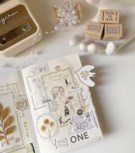
Your spring style guide
just dropped...🌷

Spring is absolutely, well, springing...and it’s time for your style to follow suit. Fun In by Sun In temporary hair dye + bold kicks from Skechers = the cheat code for a head-to-toe serve. Find alll the inspo here.
FREE STUFF
Win! Silk'n hair straightener
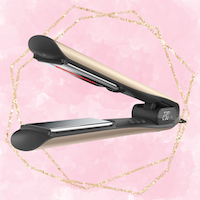
It's about to be the sleekest, shiniest spring yet—for your tresses, ofc. The SilkyStraight iron from Silk'n eliminates frizz and uses infrared technology—so the plates heat up ultra-fast (we're talking 15 seconds flat!). No more waiting around for your perfect hair day. Enter to win here!